Showing posts with label blueberries. Show all posts

Wednesday, July 6, 2011

Good News, Bad News

Let's start with the good news! Our blueberry plants are doing great and we've had our first few berries!!! Look how pretty


Now for the bad news :( A fungus called blight has infected our tomatoes again. There are two types of blight:

"Early Blight can affect the foliage, stems and fruit of tomatoes. Symptoms: Dark spots with concentric rings develop on older leaves first. The surrounding leaf area may turn yellow. Affected leaves may die prematurely, exposing the fruits to sun scald."

"Late blight affects both the leaves and fruit of tomatoes. Late Blight is the disease responsible for the Irish Potato Famine. Late Blight spreads rapidly. Cool, wet weather encourages the development of the fungus. If you suspect you have Late Blight, contact your Local Extension Service for definite ID. Symptoms: Greasy looking, irregularly shaped gray spots appear on leaves. A ring of white mold can develop around the spots, especially in wet weather. The spots eventually turn dry and papery. Blackened areas may appear on the stems. The fruit also develop large, irregularly shaped, greasy gray spots."


There isn't really a good way to get rid of blight once it's infected the plants. The best thing to do is remove the infected plant. Do not try to compost it! Make sure it is completely removed from the garden area. If the blight doesn't seem to be too bad yet, you can try removing the infected areas of the plant first. This fall we're going to need to treat the soil to try to completely remove the blight and prevent it from occurring again next year. Not sure how we do that yet...I'll keep you posted.

Tuesday, May 24, 2011

Spring Update

I know I've been MIA for awhile. Sorry! No excuses! But here's what's going on...

Our blueberry bushes are doing great. Look at our first berries!


The chickens are laying eggs like crazy! We actually keep getting double yolk eggs that are twice as big as the normal eggs.


We are also now in the process of training them to be "free ranging" and they love their time grazing.


The garden is planted! We've started eating lettuces and radishes.


And this weekend we planted sweet potatoes and cleaned up the other potatoes.


I leave for Italy in 5 DAYS! I'll post pictures when I get back!

Thursday, March 3, 2011

TGIS...Thank God It's Spring (almost)

Spring is in the air and I'm so ready! Chicken coop is being built this weekend (look for pictures next week), blueberry plants were purchased last night (nine plants producing 8-12 pounds of berries each!), and our first real conversation about this year's garden was yesterday.

As my dad and I were finishing our berry order, my cousins Andrew and Laura called to get some advice about their garden. That's when I realized...between my dad's experience and knowledge and my enthusiasm, we have a lot of information to share about gardening. So, I decided to give my dad some special attention on the blog (kinda like Deb's quotes section). I will be periodically giving gardening advice from Big Tom. The first piece of advice comes from a question posed by Andrew and Laura:

When do you till your garden for the first time in the spring?

Big Tom's Advice: As soon as the ground is dry enough to get a tiller through it. Even if it's pretty early in the spring (or technically late winter) it will begin to break up the dirt. It may even snow after this put it will be a good start to preparing the garden for the spring planting. Plus, it will help the dirt dry out quicker the next time it rains.

Stay tuned for more advice :)

Thursday, July 22, 2010

Ooh La La

I made a French dessert last night that was absolutely delicious! I found the recipe on a blog I follow, Confabulation in the Kitchen (http://shallwecook.blogspot.com/2010/07/berry-cherry-clafoutis.html). It's called Berry Cherry Clafoutis. Both the berries I used were freshly picked by me and my dad! The original recipe is on that blog but here is the recipe with my changes:

Ingredients
1 1/2 cups fresh blueberries
1 cup fresh blackberries
3 large eggs
2/3 cup sugar
1/2 cup sifted, all-purpose flour
1 cup skim milk
1/8 teaspoon salt
1 teaspoon vanilla extract
2 teaspoons almond extract

Directions
1. Preheat oven to 350 degrees. Prepare a 9-inch, round baking dish with nonstick spray, then toss in blueberries and blackberries.


2. In a large bowl, whisk the eggs, sugar, flour and salt until well-combined.
3. Add milk, vanilla, and almond extract to egg mixture and whisk well. Pour wet ingredients over fruit.


4. Bake 45 to 50 minutes, or until dessert puffs and a tester inserted into the center comes out clean. Center will deflate as the dish cools on a wire rack. Serve warm or at room temperature.


It has a great custard texture and the almond extract gives it great flavor! Plus the berries were so juicy when eaten warm! I will definitely be making this again and again!


Okay, it's also time for another quote of the day from my mom! This weekend we were showing the garden to some friends. My mom was pointing out one of our tomato plants, which has odd shaped fruit growing on it. She told our guests that she thinks the plant has a "generic disorder." Um, mom...I think you mean genetic! :)

Also, here's a few pictures of what I saw hanging out on my front porch when I left for work this morning:

Monday, July 19, 2010

Busy, Busy, Busy

I truly felt like a farmer this weekend, and I'm pretty sure I deserve a day off after this weekend (my dad does too!). We worked, weeded, harvested, planted, canned, and froze....all in about 48 hours!

I had the day off on Friday so I cleaned the house, did some laundry, did some yard work, and prepped for a cookout I had at my house that night.

Not giving myself any break, I got up early on Saturday morning and picked more blueberries. Yep, I still want more! This is either the fourth or fifth weekend I've gone to pick and I couldn't be happier! After blueberry heaven, me, dad, aunt Mary, mom, and my sister-in-law did some serious garden work. We picked all the early green beans and the first round of "late" green beans. We weeded the entire garden and picked squash, tomatoes, one banana pepper (our peppers are struggling this year!), and anything else we could fine. Then dad and I got seeds for our fall garden. We planted red lettuce, romaine lettuce, and cabbage in trays. We will transplant them into our raised garden later. We also planted onions, leeks, and multi-colored carrots in the raised garden. Finally, we took a much needed break and went swimming at our family's pond!

Sunday morning we were up and at it again, EARLY! We planted more of the fall garden. We did some fall crops last year but this year we're trying a lot of stuff! We tilled up the old potato and bean plants to make room (don't worry, we harvested it all first!). We planted sugar snap peas, more green beans :(, lima beans, corn, yellow squash, zucchini, acorn squash, and butternut squash. We're also hoping to try red potatoes but we need to find eyes to plant. Oh, and somewhere during all this my dad and I picked a bucket of black berries from the neighbor's bushes. Finally, we canned the green beans we picked the day before. We did 13 cans!

Not bad for a weekend's work! Unfortunately I was too busy working to take pictures. Just imagine tired, sweaty, dirty people running around like crazy...that's what the pictures would look like :)

Friday, June 18, 2010

Summer Lovin'


Okay, I know I just said I love strawberries (and I do) but my one true love is BLUEBERRIES! They are just the most delicious little things! I could eat them by the pounds...and I almost did last night!

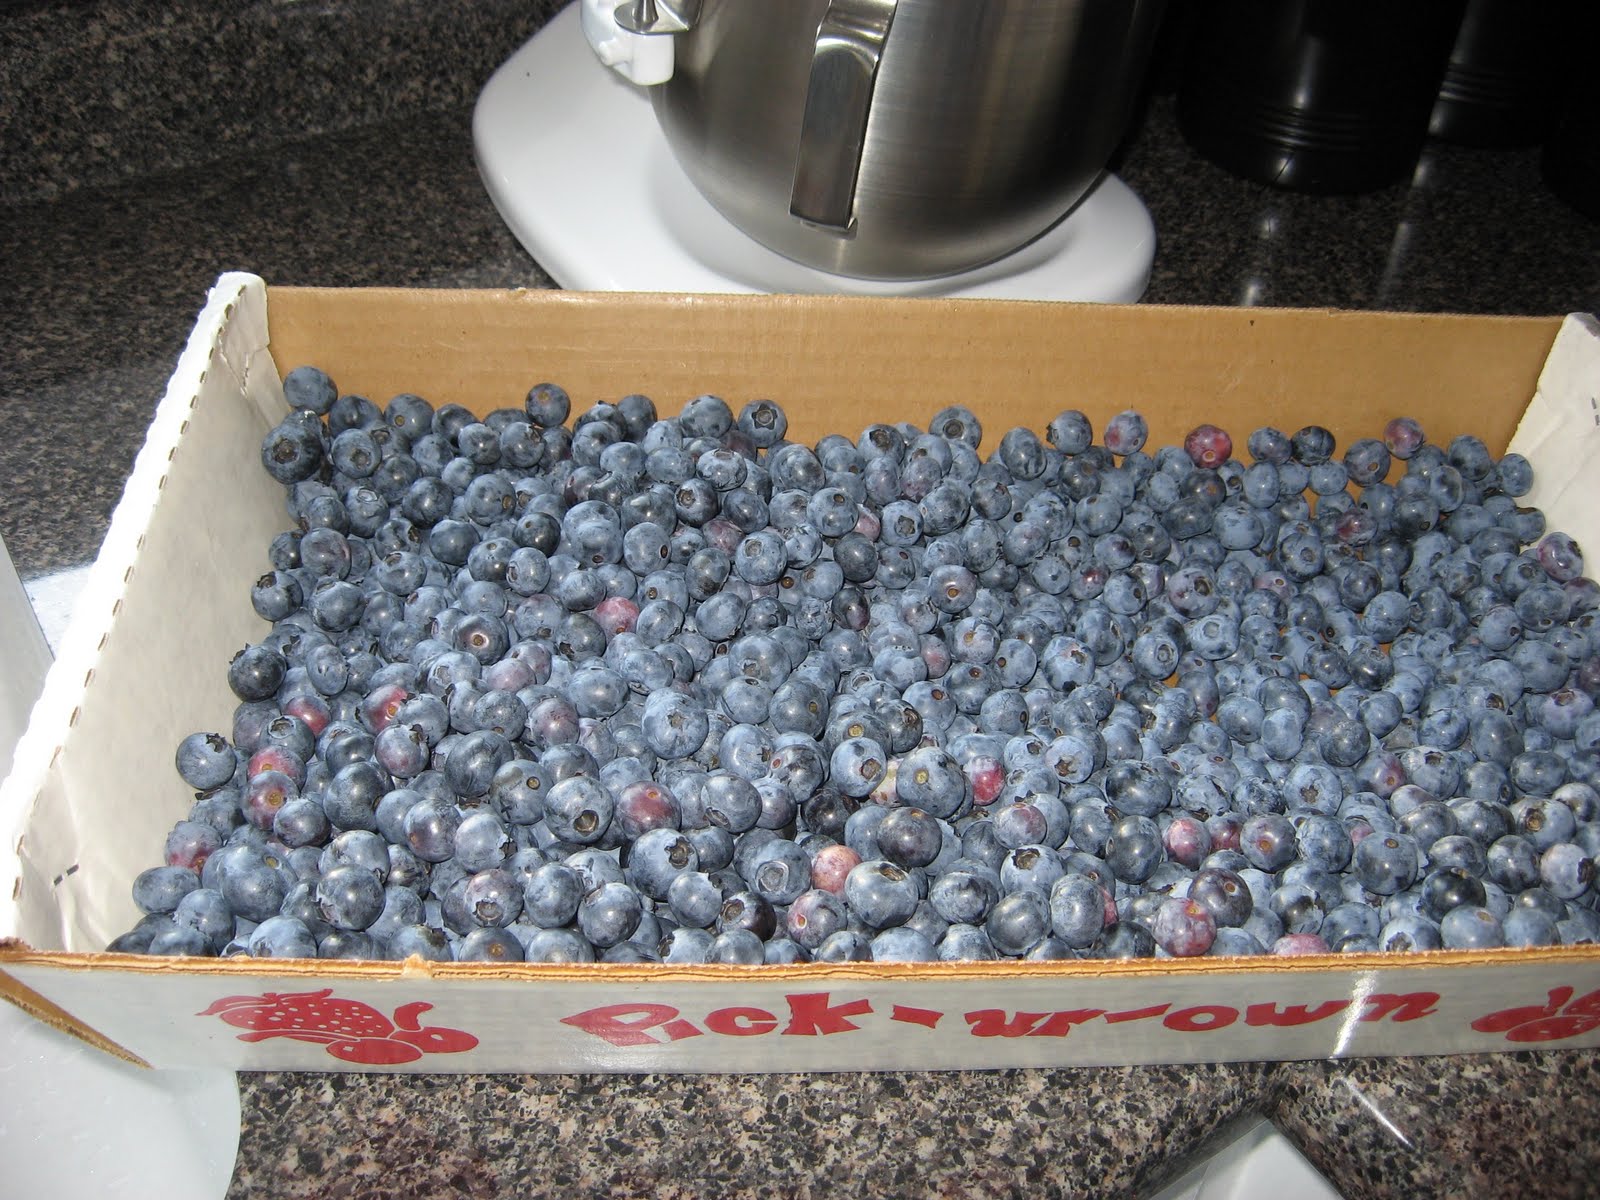
Luckily there are a lot of local farms that grow these little treats! You can find them at local farmer's markets around the middle/end of June and early July. It's been so hot here this spring that they're ready a bit early. However, if you want to do a little work for your food you can find a local you-pick farm and go pick your own. I spent an hour last night picking over 8 pounds of blueberries. I was in heaven!

This is about half of what I picked!

If you get home and realize some of your berries aren't as ripe as you'd like them, you can put them in a tray and leave them out for a day. The blueberries will ripen up very nicely and taste just as sweet as the others.


I freeze the blueberries the same way I do the strawberries: clean, freeze individually on a tray, then put in a freezer bag to save for the winter. I froze 2 big bags worth last night! That should provide a lot of yummy pancakes, muffins, and treats for my cereal over the winter months.

However, I do really like to bake with them while they are fresh. My favorite recipe came from my Aunt Mary (not sure where she got it) and it's called Alabama Blueberry Bread. Enjoy!

3 Cups flour
1 tsp. salt
1 tsp. baking soda
1-2 TB. ground CINNAMON (I usually use almost 3!)
2 Cups sugar
1 tsp. GROUND NUTMEG (optional...I don't use it)
3 eggs, well beaten
11/4 Cups canola oil
2 pints of blueberries (mash about 1 Cup of these)
2 tsp. LEMON EXTRACT
1 Cup chopped nuts, optional (I don't usually use nuts!)

Preheat oven to 350°. Grease 2 large (9 inch) loaf pans. Mix 1/4 cup of the sugar and half of the CINNAMON. Sprinkle pan and top of bread with this mixture (I do this now with all of my fruit bread recipes...yum!). Place flour, salt, baking soda, sugar, NUTMEG and the remaining CINNAMON in a large bowl. Make a well in center of dry ingredients. Add eggs, oil, and LEMON EXTRACT. Stir until dry ingredients are moistened. Stir in blueberries and nuts. Mashing some of the blueberries gives the bread a nice blueberry color. If you use frozen blueberries, make sure they are frozen plain and not sugared. Divide batter between two loaf pans. Bake 1 hour.

To remove the loaves from their pans without losing the sugary topping, try this trick. Double a sheet of aluminum foil, cut it to half the width of the pan and place it in the greased bread pan, up and over the edges, then pour in the batter. This will give you a handy way to lift the bread right out of the pan, as in the photo below. (I usually fold the foil in half again so the bread gets as much of the sugary stuff on it as possible!)

This is better if not eaten until the next day (although I usually can't wait that long!). Keep refrigerated.

Yield: 2 loaves.
Prep. time: 10 minutes.
Baking time: 1 hour